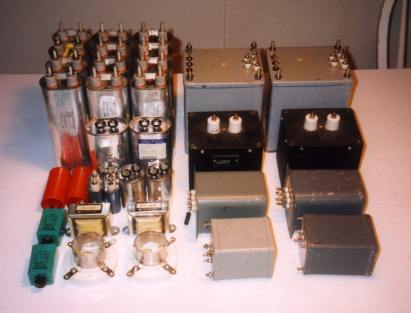
Here is a shot of all of the major parts. Note that the surplus iron is not real pretty. I stripped off all of the old paint from the iron and then primed and painted all of the caps, transformers and chokes. I used black Hammerite paint. It looks great, hides minor flaws and is rugged after it cures.
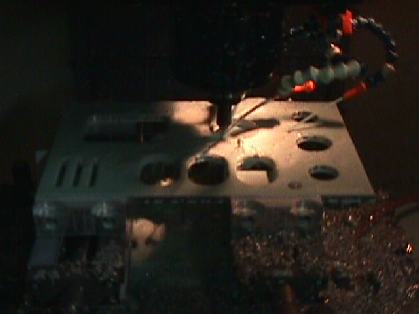
I am fortunate that my brother owns a machine shop and was willing to machine the top plates for me. The plates are made from 3/8" aluminum plate. All of the mounting holes were drilled and taped but only part way through the plates. This way there are no visible screw heads. All of the capacitors are are inserted in the oval holes from the bottom of the plates and held in place with 6-32 screws and washers. Here is a picture of one of the amplifier plates being machined on a NC milling machine.
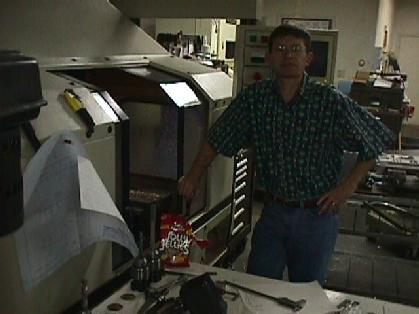
Here's the man and the machine that did the fine work on the plates.
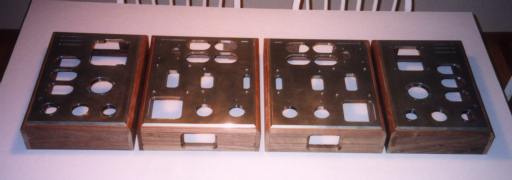
This is a shot of the finished top plates and the walnut frames.
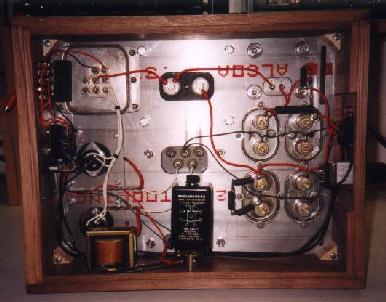
This is a view from the bottom of the power supply chassis. The time delay relay and a small 24 volt transformer are in the lower left. Lots of room under the hood.
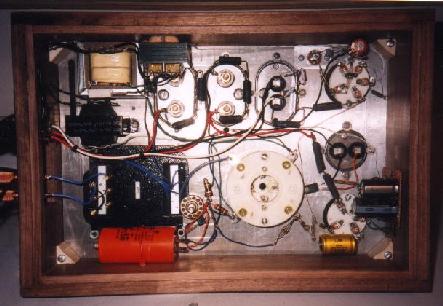
Likewise here is the view of bottom of the amp chassis. The three open frame transformers are for the heaters.
Looking from the top you can see the nice crescent shaped slots around the tubes for extra ventilation.
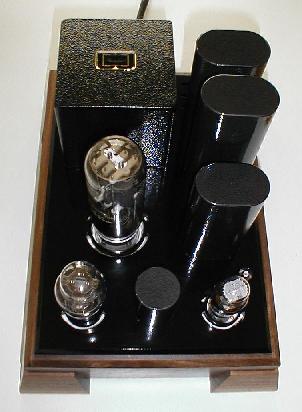
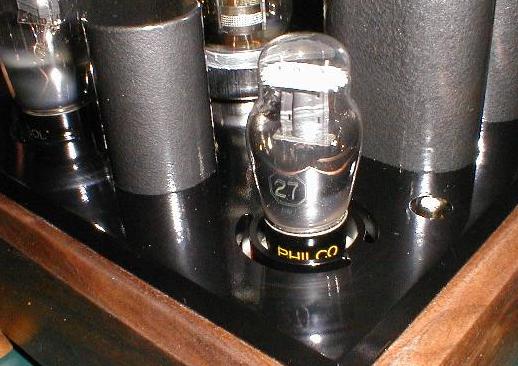
This picture shows the thick top panel and how there are no visible mounting screws. The tube sockets are mounted on stand-offs about 1/4 inch below the plate.
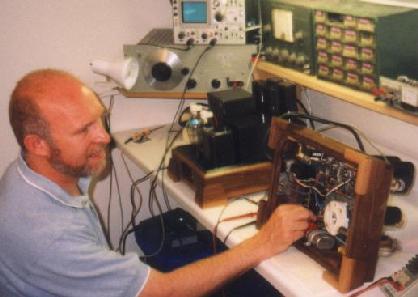
Here I am doing some final checks on one of the amps. Note the smile! This is a great hobby.